I haven't done much knitting or crocheting of late. Mainly because I have been busy working on a special, secret project which I couldn't talk about until after the most recent LARP event! At the previous event in June, I had agreed to make some sashes for my faction. They needed to look good, but be relatively simple to make as I had to make enough for fifteen people.
I decided the sewing part would be fairly simple, if I made long sashes which were tied on, rather than trying to make sashes to fit exactly. Especially considering the range of sizes in the group of people I was making them for - a huge variety of height and girth across the group. What I struggled with initially was a technique to use to get the symbols onto the sashes that I wanted - eight in total (one representing each of the in-character Gods worshipped in my faction, and one representing the faction itself). After chatting to a couple of friends, and doing some searching on the internet, I settled on screen printing as the most sensible route to take, and found this tutorial and this one. Initially, I thought I would try the embroidery hoop option, especially when I discovered you can now buy Modge Podge in Hobbycraft! But in the end I went for a very quick and lazy stencil only approach, with no screens at all.
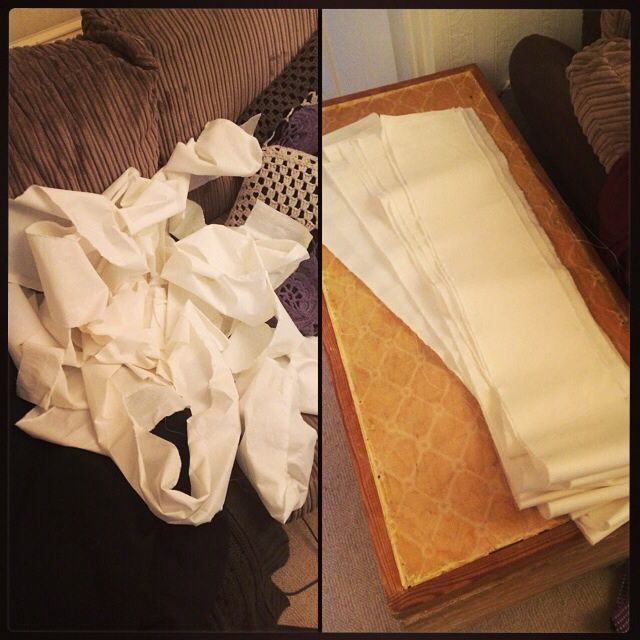
Preparing the sashes themselves was a bit more involved than I thought it would be. I bought 4 metres of 100% cotton in a lovely muted cream colour (as I thought white would be a bit too stark and modern for my needs). I tore the material into strips six inches wide, and ironed them out. Then came the endless pinning. I have never spent so much time pinning hems in all my life. Even the excessively long hems on my skirts didn't get that much attention.
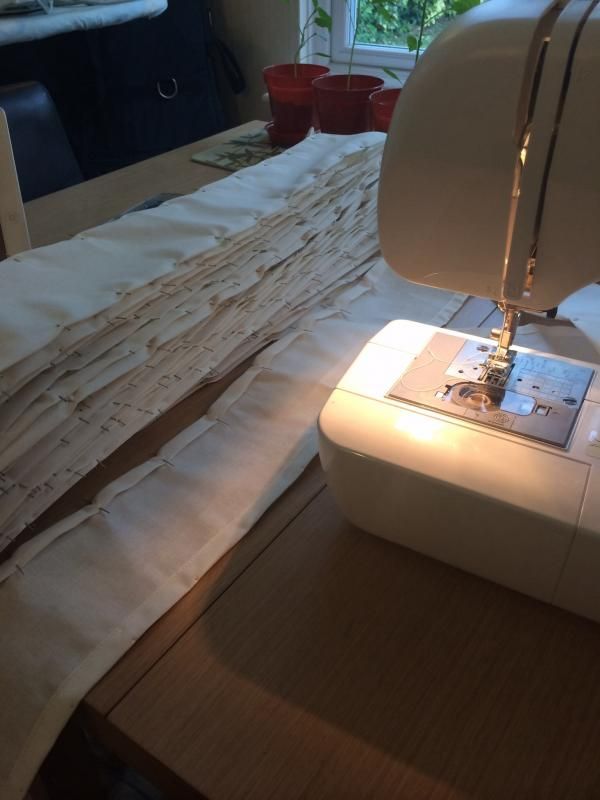
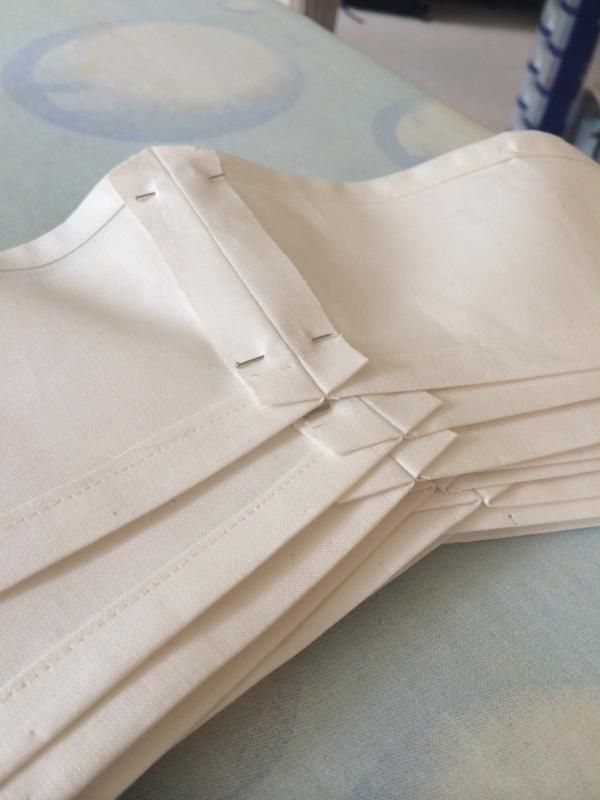
It took me a day and a half to pin all the strips of fabric (260 feet of hem!). It then only took me about three hours to sew them all and remove the pins again. Because I was making these for other people, I decided to be very good, and did all the ironing and seam pressing you are meant to do when you sew things. I even top stitched the seams at the shoulder, once I had pinned and sewn the front and back halves together.
For the symbols, I took inspiration from the descriptions of the Gods as listed on my faction's website (www.cplions.co.uk). The standard symbols (things like scales of justice, swords etc) didn't seem exciting enough to me, so I was interested when I saw each God had a bird associated with it as well. I immediately went searching on Google for tribal tattoo style images of the birds in question, and made stencils of those.
The stencils are just OHP acetate sheets, with a sticker stuck on that I'd traced the image onto. This made it easier to cut it out!
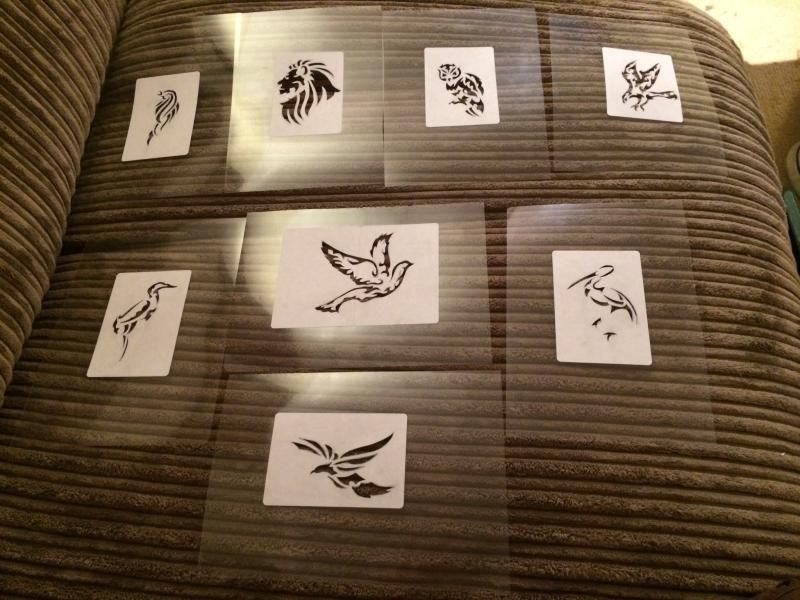 |
| Top row L-R: nightingale, lion, owl, hawk Middle row L-R: Heron, dove, stork Bottom: raven |
The dove in the middle of the above pic actually didn't make the cut, it was too big and complicated so I replaced it with a different design in the end.
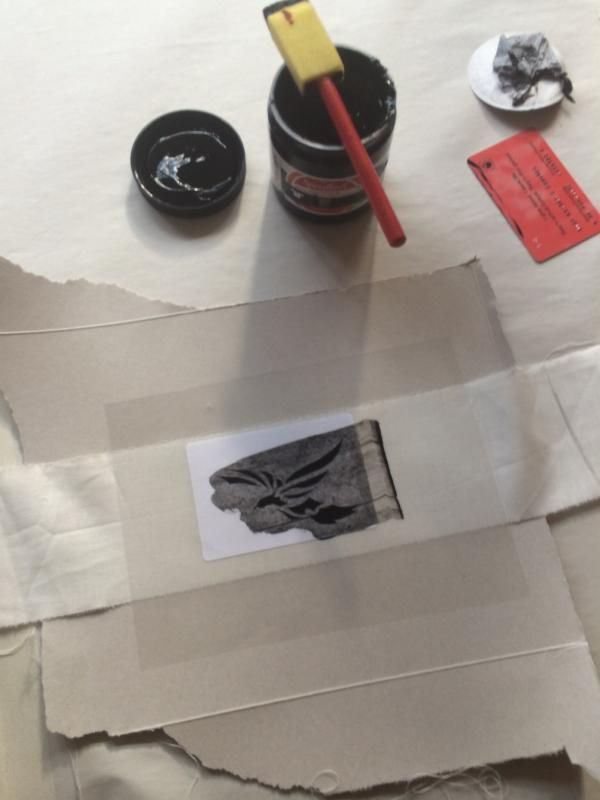
When it came to the printing, I kept things as simple as possible. I set up a production line in my kitchen, and prepared my stencils by spraying the backs with removable adhesive spray. I sort of fudged my way through the screen printing itself, using the basic understanding of the technique I had learned from the tutorials linked above.
I bought proper screen printing ink in black, found a foam brush in my box of craft tools, and dug out an old blood donation card. I pretty much just blobbed ink on over the stencil with the brush, then drew the card across to even the ink out inside the stencil and scrape off the excess. It worked pretty well!
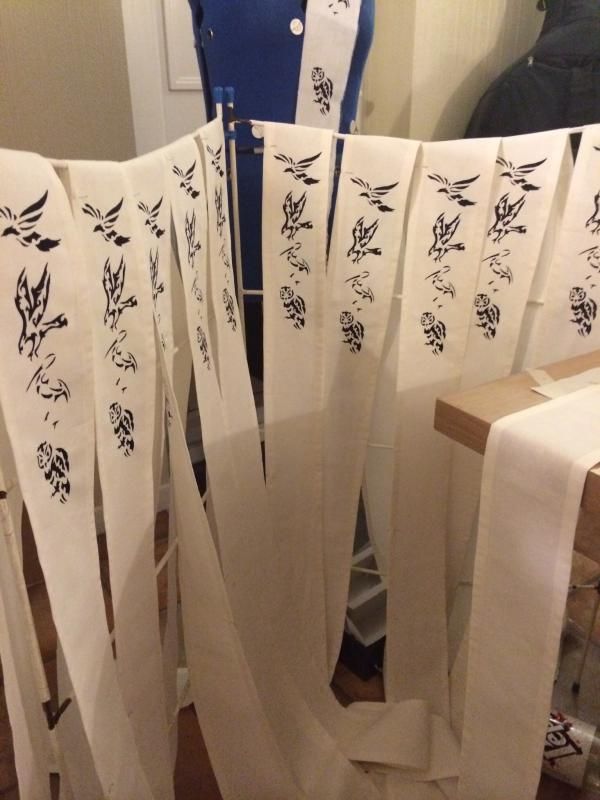
The only real pain was the time it took for the ink to dry. I had to do each bird separately, as otherwise the stencils overlapped with the still wet image above. So I did 13 ravens, then waited a bit. Then 13 hawks. And so on until they were all done.
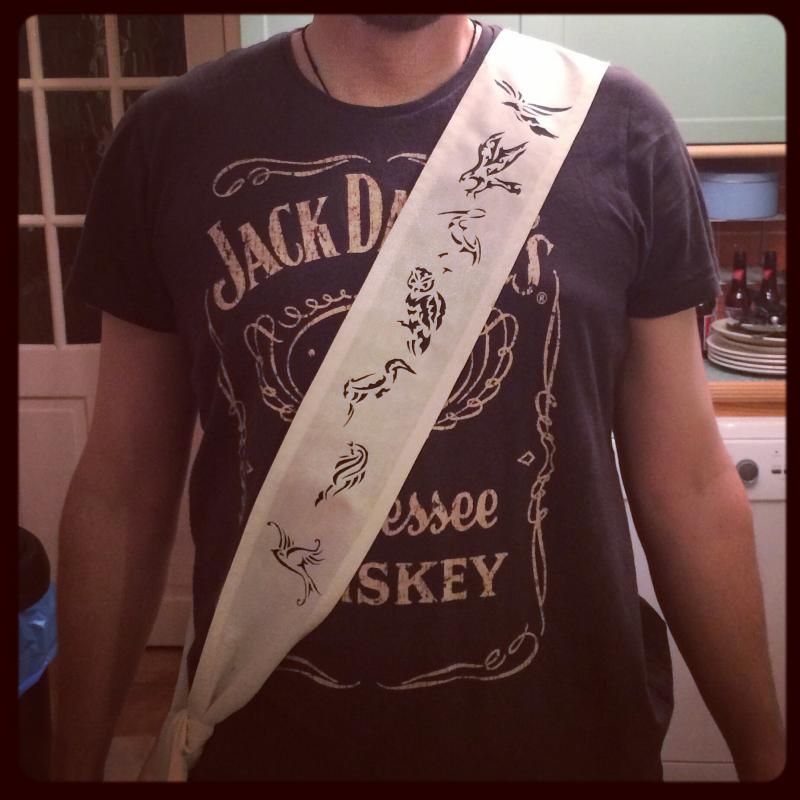
Just to give you an idea of the finished article, I got my husband to try one on. All I did to them after this point was paint the legs of the storks on (as they were very thin on the image and I wasn't sure I could cut the stencil delicately enough). The Lion is on the back, over the shoulder blade.
They turned out so much better than I was expecting, and once we had them out at the event and people were wearing them, I was even happier. No photos, sorry, I was far too busy! They generated some lovely roleplay as well, as people debated over which bird symbolised which God and why.
I have another one to make before the event in August, which gives me only 4 weeks. This one will be posher, made of thicker material (probably white cotton drill, I am going shopping on Saturday to find some), and will have black bias binding around the edge. I'll probably space the symbols out so half are on the front and half are on the back. Will share progress once I get started on it!

No comments:
Post a Comment